skip to main |
skip to sidebar
Recently, I've been wanting to be a little more fashionable since I'm usually a big bum and wear scrubs most of the time at school!
I've always been a fan of upcycling, so I figure I'd try it out for myself. I went to my local Goodwill and picked up a few pieces of clothing to mess around with. Of course they're not the most beautiful (and probably are along the lines of being old lady-ish), but I had a vision for each of them!
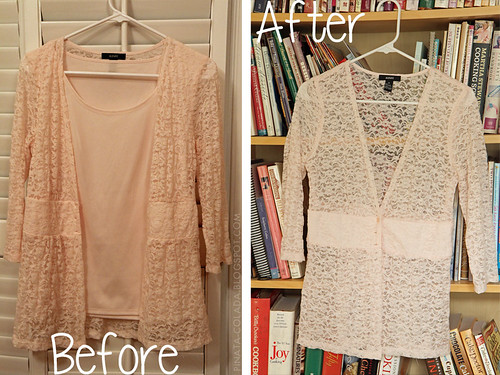
The pink lace cardigan/jacket had an ugly stretchy synthetic fabric shirt attached to it. I just simply removed the attached shirt by cutting it out and tying up loose ends to create a cute lace cardigan! I've seen these around in the store for a LOT of money, but this only cost me $5! What a steal! I'm currently considering replacing the buttons with some vintage buttons my mom has, but we'll see.
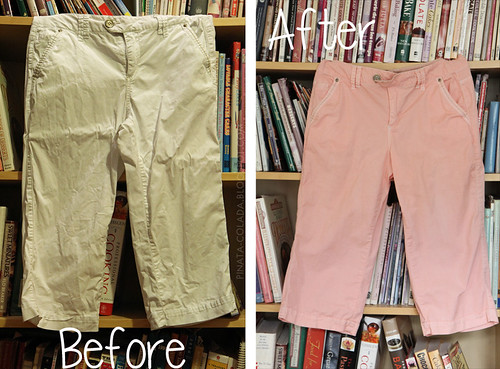
As for this pair of capris , they were fine by themselves, but I really wanted a pair of pastel colored pants for a bird shirt that I had previous bought! I simply bought a bottle of Tulip liquid dye (grapefruit color) and dyed the pants over the stove! I followed the directions on the bottle and it turned out WAY better than I expected!
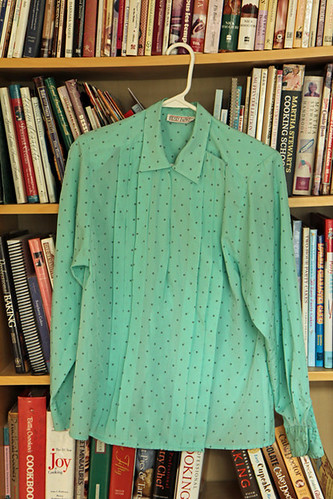
Lastly, I got this grandma shirt that has all of these pleats and this weird fold over flap thing. I really liked the mint green color with the polka dots, so I had to take this one! This one isn't as straightforward as the other two and requires a lot more deconstruction and resewing. I'm not done with this one, but I'll post it when I'm finished!
Happy Monday everyone!
Good news and bad news!
THE GOOD
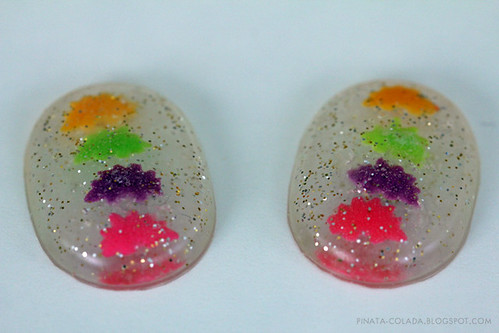
I decided to make some more resin pieces!
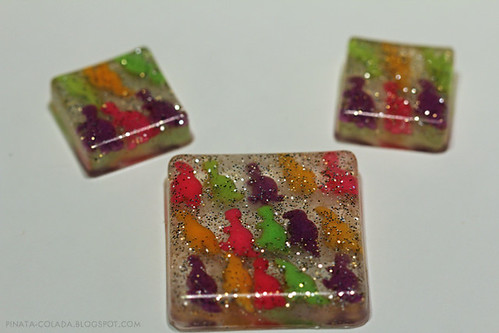
I took some of the sprinkles I had and placed them by hand. I added a little glitter to the resin to add that little special touch.
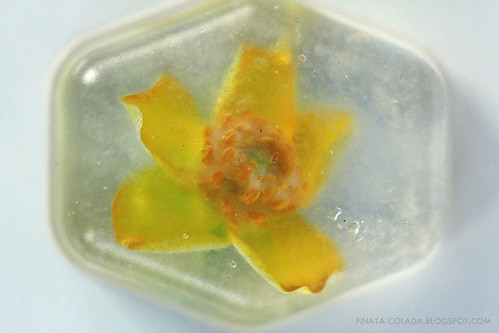
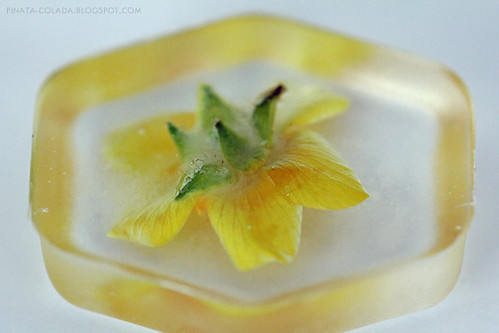
Since we were up in the mountains at the time, I picked some wildflowers outside and tried placing them in some resin. I do like the flowers in resin, but it would have probably looked better if it wasn't so cloudy.
I've started glazing my pieces, which REALLY clears up any cloudiness that happened. At first I used clear nail polish since I had that on hand, but then I swapped to Triple Thick glaze after some research. So lookin good. Yay! :)
THE BAD
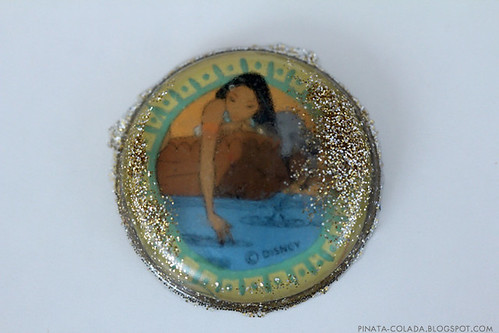
I wanted to see what would happen if I put a sticker on resin! I had some old stickers from when I was a kid, so I took an old one that had fallen off its sheet to test things out. I coated it with clear nail polish to protect the sticker and stuck it in. I then placed glitter behind it because it didn't fill the whole area. However, I noticed a bubble inconveniently located next to her nose, so I attempted to move the sticker around in an attempt to move it elsewhere. I successfully moved the bubble, but glitter went places where I didn't want it to go.
Sorry Pocahontas sticker. You will be missed.
I also tried doing gummy bears, since you can stick food in resin. However, if turned out like this.
Why is it so chunky you ask?
THE UGLY
My Bead Landing resin has kicked the bucket before I could use it all. :'( The bottom of the resin was really chunky, cloudy, and crystallized, which messed up some of my pieces. I read online that resin will crystallize over time, so I'm guessing the resin kit I bought had been sitting in Michaels for quite a while. Needless to say, I won't be buying that brand of resin anymore since the packaging doesn't allow for you to see the condition of the resin.
Next time, I'll be trying Easy Cast resin and let you all know how that goes!


 Hi! I'm Tiff - crafter, world traveler, and lover of furry creatures and all things delicious.