Showing posts with label food. Show all posts

Thursday, May 30, 2013

Giga Pudding - DIY giant flan

I gotta admit that I'm a HUGE fan of flan, so when I saw the Giga Pudding commercial I wanted to try it for myself!

(If you've never heard of "Giga Pudding", watch the video below!)


We don't have the official Giga Pudding kit here and I didn't want to spend big bucks on buying a kit online, so I tried making it by myself (aka winging it)!

The kit itself comes with a bucket, giant spoon, and flan mix.

What I used instead were:
  • A sand bucket (which was easy to find since it's the summer time!)
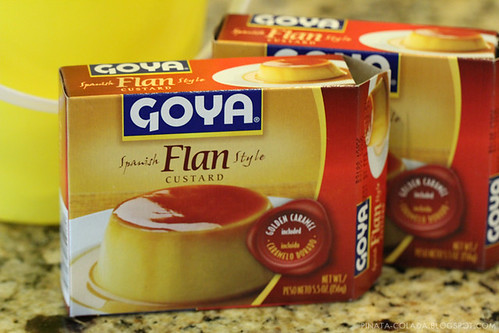
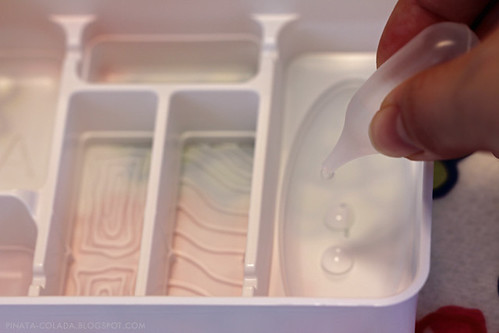
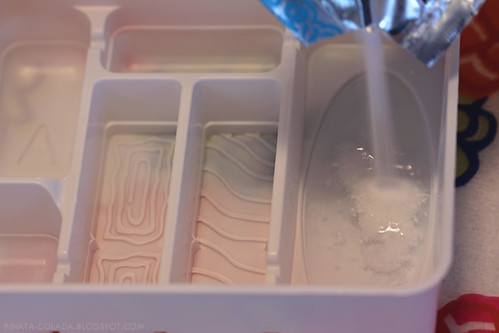
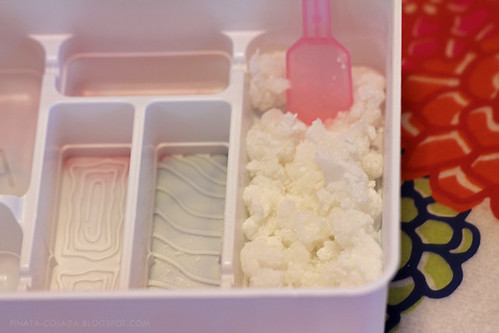
  • 2 boxes of flan mix (or more depending on how much you want to make)
  • Spray oil
  • Optional - Sand shovel
DIY Giant Flan Materials 

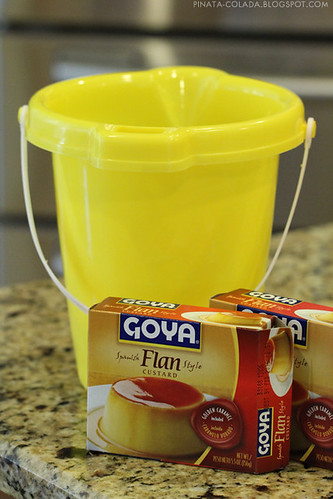
For this project, I used 2 boxes of Goya Spanish-styled flan since my bucket fit about 8 cups and I didn't want to make too much.

Goya Flan

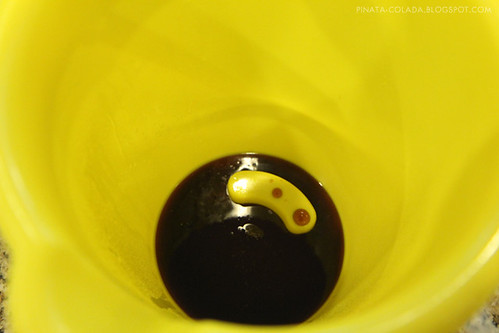
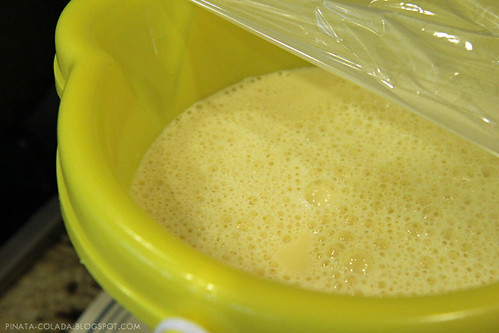
I sprayed the inside of the bucket with oil to make it easier for the flan to come out when the time came to flip it over.

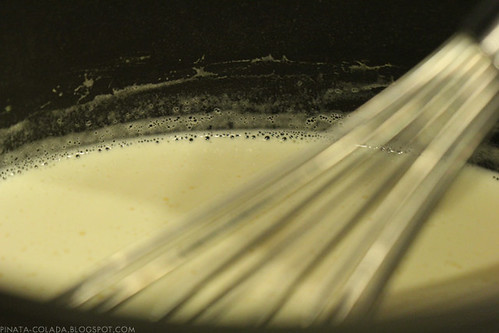
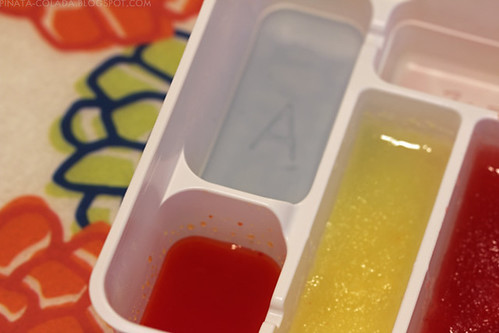
Basically, I followed the recipe written on the box.  The boxes came with the caramel topping, so I put that on the bottom of the bucket.  This particular type is made on the stove, so I followed the directions and poured it into the bucket afterwards.  At first, I was worried about the bucket melting since the flan mixture was so hot, but luckily the plastic was thick enough and nothing happened.  Just keep the plastic thickness in mind when buying your bucket (just to be safe)!

Spray the bucket and insert caramel

Cook the flan

Cover cooked flan

I covered the bucket and put it in the fridge until it's firm.  My mom let me know that it was ready at around 6 hours of being in the fridge, but we waited until lunch the next day to eat it.

Taking it out of the bucket was probably the most nerve-wracking part.  I've seen plenty of real Giga Pudding fails, so I was prepared for failure.

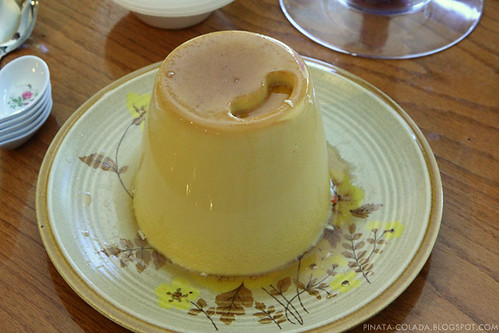
To take the pudding out , I placed a plate on the top of the bucket, and flipped both the plate and the bucket over.

It took some time/wiggling/smacking to get the pudding out, but it finally came out! :)

Unveiled flan!

Happy Flan

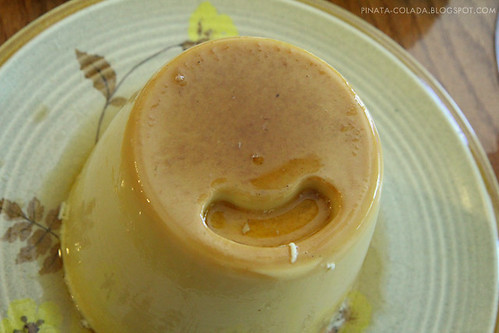
We even took a video of it, so watch the unveiling below!


Overall, great experience, fun, and great for parties, get-togethers, or just because!  If you try it, let me know how it goes!

Sunday, May 5, 2013

Ch-Ch-Changes and Cake!

Happy weekend everyone (and happy Cinco de Mayo)!

As you can probably tell, I've changed my layout!  It's nearing the summer and I felt that my old layout looked kinda blah and didn't fit the fun spirit of this blog very well.  Instead of studying for finals (students - don't be like me), I decided to spend a couple days updating and changing things!  Now I gotta say that we're on track now. :)  Also, had to learn a little about coding this week since the template that I used had LOTS of things that I didn't like or that were broken.  You learn something new everyday, right?

And now onto this week's highlight - WEDDING CAKE!

Top 2 tiers

A friend asked my mom to do her wedding cake, so she's been busy working on it this week.  Before we moved, Mom used to have a cake business that she ran out of our home and made cakes, cupcakes, and more of all sorts of occasions.  Needless to say, we always had cake and desserts around!  Now my mom does it more as a hobby and only by request.

I'll be working on a website for my mom this summer, so I figure I'd take some nice pictures to help her compile a photo gallery of up to date stuff.  However, I was a big dummy and forgot to pack my other lenses, so I basically used my macro lens for everything.

The Bride's colors were white, yellow, and blue, so for the top piece we used yellow roses and baby's breath.  I actually did the arrangement, so I gotta admit that I'm pretty proud of it!

Rose and Baby's breath 2 

Rose topper

The Bride also picked a cake that included little plastic wedding bells and royal icing roses covered with luster dust.

Wedding bells

Royal icing flower

The cake inside was banana, coconut, and vanilla with strawberries, chocolate, and cream. The icing was a vanilla buttercream. I personally wasn't able to stay because I need to study for upcoming finals, but I previous tried the flavors from the cake tasting session my mom had with the couple.  Gotta talk about tasty!

Needless to say, overall my mom did a very good job and I'm very proud of her!  
Yay mommy!

Wedding cake

Saturday, April 13, 2013

Candy Sushi! - Kracie Poppin' Cookin' Sushi Review

Kracie Poppin' Cookin' Sushi 
  You heard me right - Candy sushi!

I recently got an awesome package from  a very good friend of mine (thanks Dane!).  This box included a Kracie Poppin' Cookin' sushi kit, which was something that I've been DREAMING of for a very long time!  Basically this whole thing was a dream come true!

Kracie Poppin' Cookin' Sushi Opened 


For those of you who are unfamiliar with the product, Poppin' Cookin' is a series of Japanese candy kits that allow you to create candies that look like real food!  Their kits range from making candy ramen and dumplings to candy curry.  From what I've heard, the curry kit actually tastes like curry!

For this kit, it included some foil packets, a spoon, water dropper, candy clay, and a plastic tray.  All of the instructions were in Japanese, but it's pretty easy to figure things out based on the pictures and Youtube videos demos done by other people.

Powder packets 

  Basically, the idea is to fill up the compartments up to the fill line with water, add the appropriate powder, and stir.  This created the rice, egg, tuna, and soy sauce.

Add water....
Add water to the fill line....
Add powder....
Add powder & stir....
Magical "rice"
Then rice!

The only thing that was different was the salmon roe.  For this part, the dropper was used to suck up the orange mixture (B) and drop it into the blue mixture (A).  This was like magic to me since it transformed from liquid to a solid!

First liquid....

..Then magically "roe"!
Ta-da!  Salmon roe!

After completing all the mixtures, you then assemble the sushi!

Rolling out the "nori"
More forming the "rice"
Shaping the rice

Candy sushi finished!
FINISHED!

They all looked really pretty after putting them together, but now it's time to eat!

My mom and I were the only ones to eat it as my dad suddenly disappeared as soon as I suggested eating it.  The taste was ok....The overall taste was a cross between grape and bubble gum flavor.  The salmon roe was fun to eat since they popped in your mouth and had a juicy center.  However, the egg and tuna had a weird squishy texture.

Overall, it was VERY fun and I'd recommend it for the experience.  I think I'll be on the hunt for more Poppin' Cookin' kits in the future!