
Sorry for the very late update!
School has been pretty busy with midterms and various projects, so time has been tight! Also, I was drawing a blank on what to do for my next project that wouldn't be too time consuming and would be able to be done within my apartment since the pollen this year has been HORRIFIC. My noses keeps running and my eyes have been itching and watering like crazy. :(
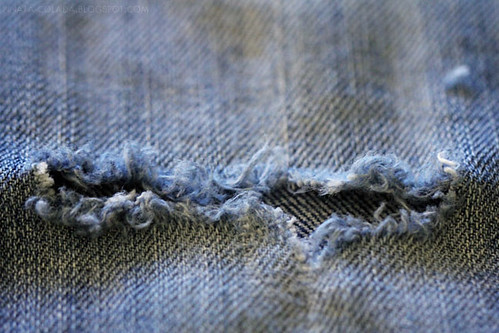
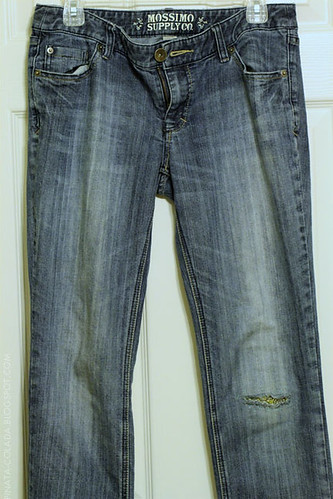
When a friend suggested that I sew something, the light went off! One of my favorite pairs of skinny jeans had developed a hole in the left knee much to my dismay, so I thought it would be a great chance to fix it!

The idea came from Designmom.com's 4 Secrets to a Well-Mended Wardrobe via pinterest.
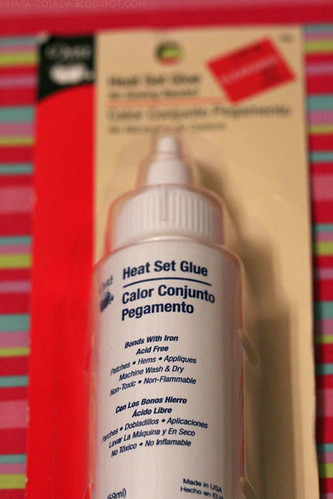
I did do a few things differently since I didn't have fusion paper and didn't want to spend and arm & a leg on getting some. I'm a clearance shopper, so while digging through Joann's clearance items, I stumbled upon some Heat Set Glue for 97 cents! What a deal! :)
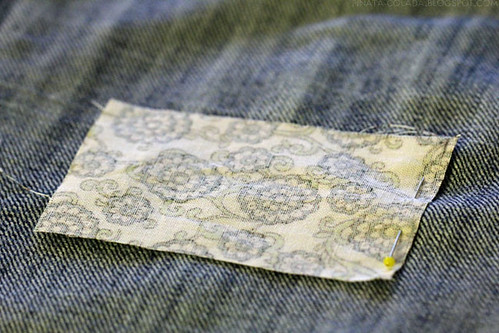
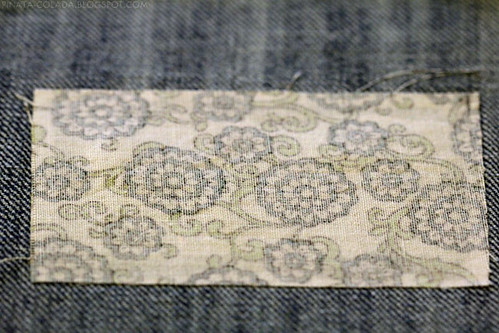
As in the original post, I also purchased a fat quarter and some matching embroidery thread.
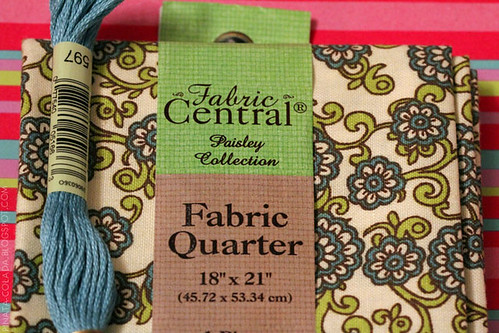
Before cutting the fat quarter, I soaked in boiling water for 5 minutes (as per my mom's instructions) to prevent it from shrinking AFTER putting on my jeans and washing it for the first time. I let it dry overnight and ironed it flat. My mom also suggested that if you wanted to dry it much quicker, just iron it while it's still wet.
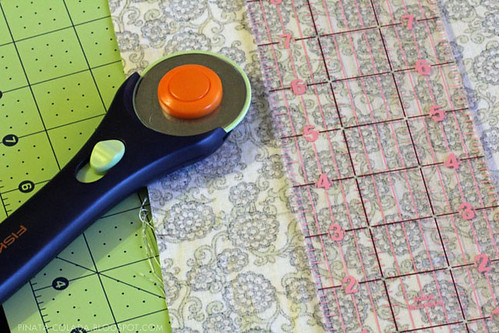
I previously measured how big I wanted my patch, and used those measurements to cut out my patch with a rotary cutters.
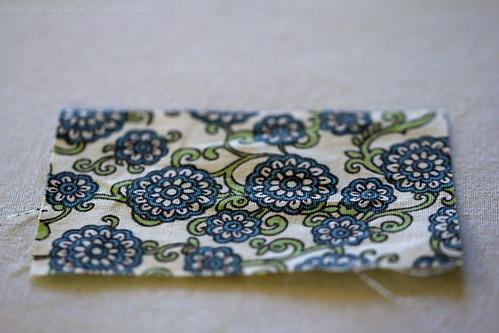
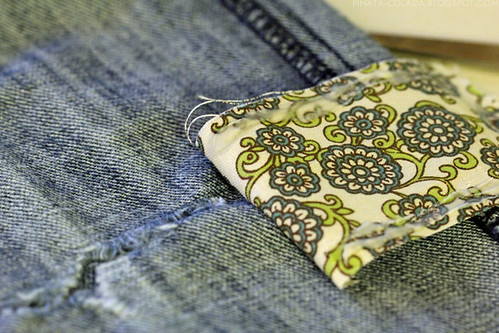
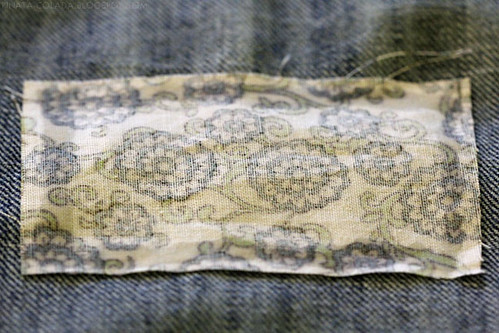
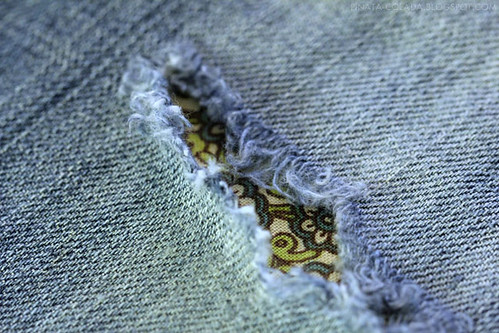
I then added some little hand embroidered stars for a little extra decoration and some extra security.
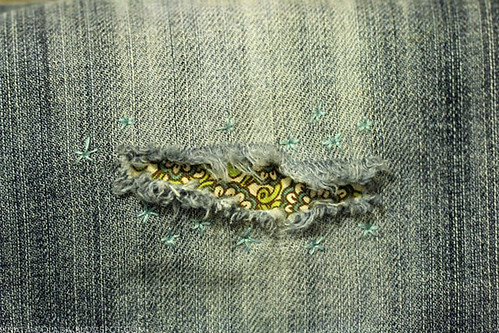
I wore these the next day and they were FANTASTIC. Everything stayed together and the hole didn't get bigger at all.
And a preview for the next few projects - RESIN JEWELRY EXPERIMENTS! I'll be done with school for the summer and hopefully the pollen will die down by then, so I can head outside and get the proper ventilation for these projects. :)
Also - my mom said I could do some of these jewelry kits she got from Taiwan, so look out for those!
 Hi! I'm Tiff - crafter, world traveler, and lover of furry creatures and all things delicious.


Those turned out so cute!! I really really love the little embroidered stars. And I'm SO EXCITED for your resin projects!!
ReplyDeleteMackenzie
www.heybirdfriend.com
Thanks! :)
DeleteAnd so am I! Hopefully things will turn out! Crossing my fingers!